
Horde and Boss Waves: Surviving the Big Fights
How to survive the giant horde waves in We March as One: choke points, contact area, depth over width, and the boss levels that test your whole army.
We March as One is a tower defence game wearing a strategy game's clothes. The campaign's memorable levels are not the even fights — they are the ones where an enormous horde arrives and the question becomes whether your formation can hold long enough for the simulation to resolve in your favour.
There are two kinds of these fights: horde waves, where numbers are the threat, and boss levels, where a fortified position is the threat. They want different answers.
Why hordes beat normal formations
A normal campaign level gives you a comparable enemy army. A horde level does not. It gives you something wider, deeper and often faster than anything you can paint, and it comes at you.
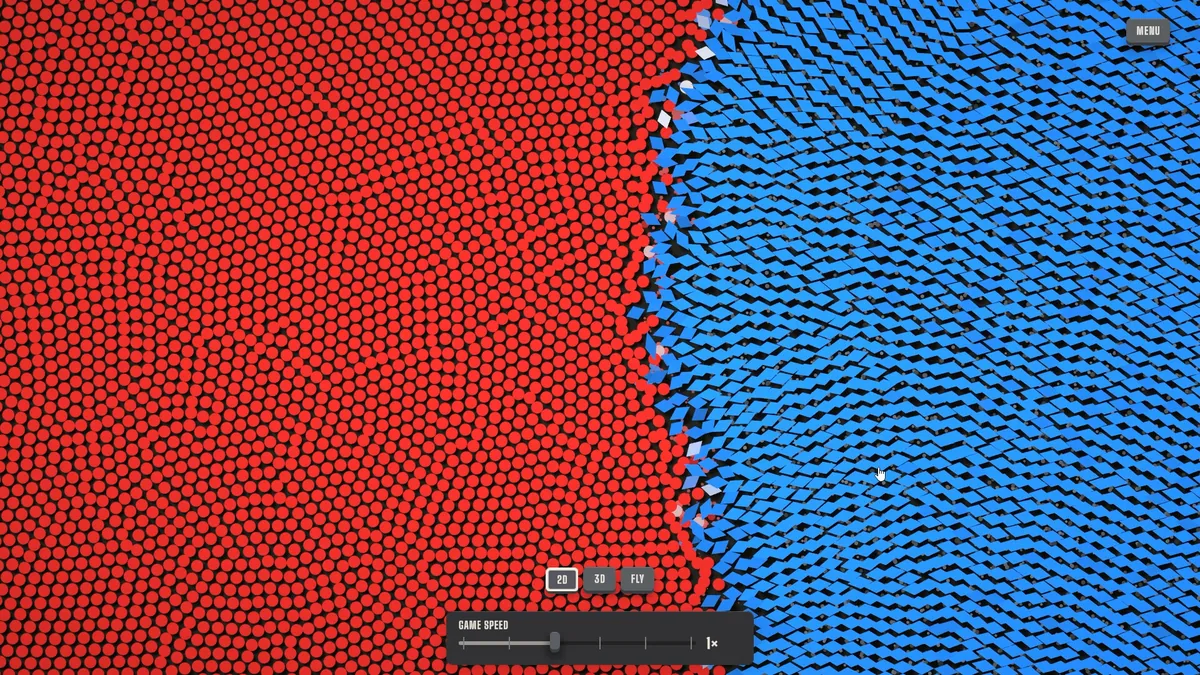
Against a horde, the standard balanced formation fails for a specific reason: contact area. A wide line meets the horde along its whole width and gets eaten from both ends inward. The horde has more bodies than you at every point of contact, so every local fight is a loss, and the line collapses evenly.
The fix is to stop offering the horde your whole width.
Choke points are the whole strategy
If the map gives you a bridge, a gate, a street mouth or a gap between buildings, that gap is the level. Holding a choke point converts the horde's numbers into a queue.
Three properties make a choke work:
- The enemy can only engage a few units at a time, which neutralises their numerical advantage.
- Your depth keeps feeding fresh units into the same small front, so the fight stays at full strength while theirs trickles.
- Area damage and dense formations become efficient, because the enemy is packed into a small space.
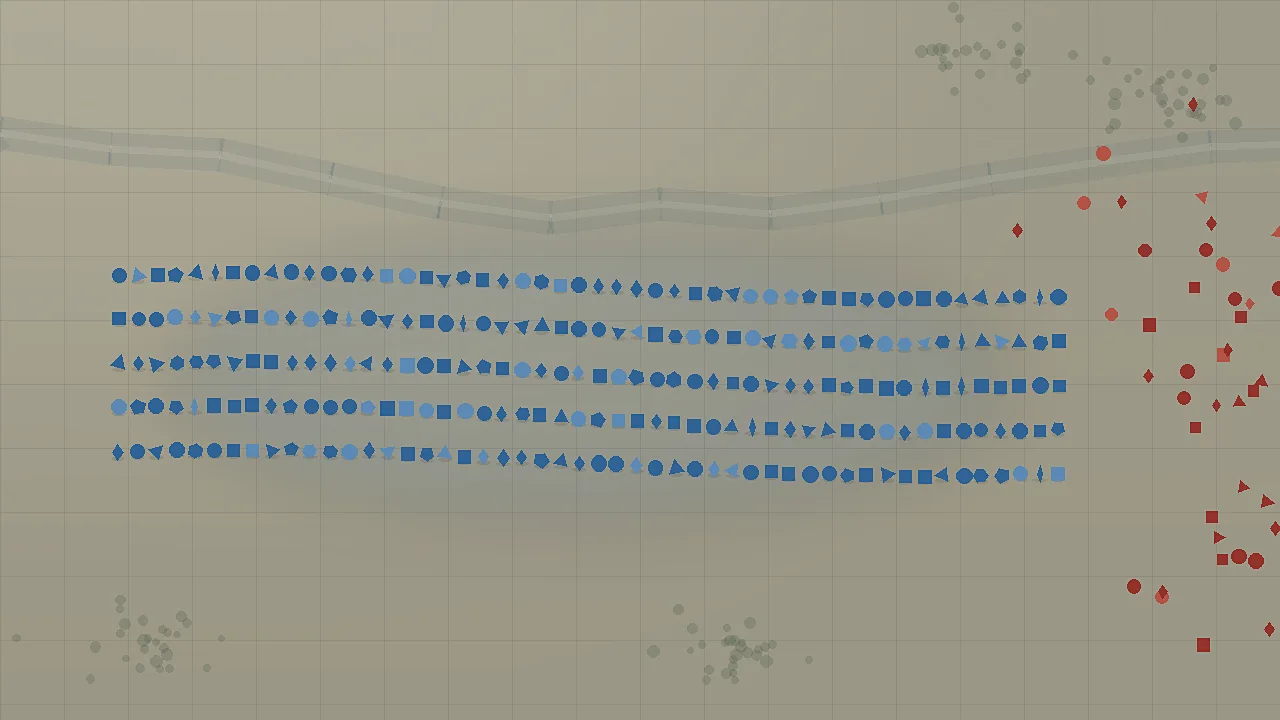
The formation for a choke is narrow and deep: squares at the mouth, circles behind them, triangles in the middle where the enemy bunches. Rhombi fill any spare corridor cells.
Some horde maps are open. On those, a refused flank does the same job: paint a strong, deep block on one side and leave the other side thin. The horde wraps around the thin side, which takes time, and the time is what your block needs to chew through the centre.
Depth over width, always
On a horde level, every cell of width you paint is a cell the enemy can attack. Every cell of depth is a cell that replaces a dead unit.
That does not mean a single narrow column — it means a formation whose front is as narrow as the map allows and whose depth is as large as your budget allows. Five ranks minimum, more if the level is generous.
Practically:
- Cut the width of your formation by a third compared with a normal level.
- Spend that budget on extra ranks behind the front.
- Put the King in the middle of the depth, not at the front, so the aura reaches the whole column and he is not the first unit to take damage.
HOLD is almost always correct
Horde levels are the clearest case for HOLD in the game. Marching into a horde on open ground means meeting it with a narrow front while it wraps around you — the worst of both worlds.
Hold behind whatever terrain exists, let the horde come, and let the choke do the work. The exceptions are horde levels with a timer or an objective behind the horde, where you have no choice but to advance; those are covered in the MARCH vs HOLD guide→.
Boss levels are fortified, not numerous
Boss levels — the city levels at 10, 20, 30, 40 and 50 — are a different problem. The enemy is behind walls and buildings, which means:
- You cannot flank them the way you flank a field army.
- Their front is protected, so your triangles have to break a fortification rather than a line.
- Your army has to survive a long approach under fire before contact.
The practical answers:
- Narrow the attack. Pick one gate or one breach and put everything through it. A wide assault on a walled city feeds units into multiple kill zones.
- Lead with squares. They absorb the approach. Triangles behind them arrive at the breach intact.
- Use the King at the breach. A 10x health anchor in a gateway is the closest thing the game has to a battering ram.
The three-wave rhythm
Horde levels tend to arrive in waves rather than one continuous stream. That changes the optimal formation mid-battle, which you cannot do — so build for the worst wave.
Before pressing FIGHT, ask:
- Which wave is largest, and will my formation still have depth when it arrives?
- Does the horde come from one direction or several?
- Is there a wave that includes something other than bulk — a fast unit, a ranged unit, a big single unit?
Build for the answer to the worst question, not the average.
A horde chews through the front rank quickly regardless of what it is made of. The front rank's job is to exist long enough for the second and third ranks to engage. Spending your whole budget on an unbreakable front leaves nothing behind it.
Official source: Steam global achievement stats ↗ — the achievements Hundred Thousand (defeat 100,000 enemies outside Sandbox) and A Million Shapes (defeat 1,000,000) confirm how large the horde encounters get over a full campaign.
Horde checklist
- Is there a choke point? Hold it.
- Is the map open? Refuse one flank and build a deep block on the other.
- Is the front narrower than a normal level and the depth deeper? It should be.
- Is the King inside the depth rather than at the tip? He should be.
- Are you building for the biggest wave rather than the first one? You should be.
Sources
- Steam global achievement stats for We March as One ↗
- We March as One on Steam (official store page) ↗
- Steam user reviews for We March as One ↗
FAQ
What is a horde wave in We March as One?
A battle where the enemy arrives in much larger numbers than a normal level, usually in successive waves. The counter is terrain and depth rather than matching their width.
How do I beat a horde on an open map?
Refuse one flank: build a deep block on one side and leave the other thin. The horde spends time wrapping around the thin side while your block destroys its centre.
Are boss levels the same as horde levels?
No. Boss levels are the city levels at 10, 20, 30, 40 and 50, where the enemy is fortified behind walls. The problem there is breaking a defence, not surviving numbers.
Should I use MARCH on horde levels?
Almost never, unless the level has a timer or an objective behind the horde. Holding behind terrain is the default answer.
Why do my units die so fast on horde levels?
Because your front is too wide. Every extra cell of width is another cell the horde can attack at once. Narrow the front and add depth.