
MARCH vs HOLD: When to Give Each Order
MARCH and HOLD change how every battle plays out. Here is when to advance, when to stand, and how each order reshapes your formation in We March as One.
We March as One gives you two standing orders and no third option. That is the whole tactical layer before the shooting starts, and it is worth more attention than it usually gets, because the order changes the shape of your army as it fights — not just where it stands.
What each order actually does
MARCH sends the army forward. Units advance toward the enemy, engage, and keep pushing. The formation compresses as it moves and hits with a narrower front than it was painted with.
HOLD keeps the army in place. Units stay on their painted positions and receive the enemy where they stand. The formation keeps its width and its depth.
That is the mechanical difference. The strategic difference is much larger:
| MARCH | HOLD | |
|---|---|---|
| Front width at contact | Narrower than painted | Exactly as painted |
| Who chooses the ground | You do | The enemy does |
| Best against | Wide, thin enemy lines | Enemies that must come to you |
| Worst against | Entrenched positions | Being outranged or flanked |
| Formation shape | Wedge or deep block | Wide arc with refused flanks |
When MARCH is the right call
March is the answer to three situations:
- You outnumber the enemy and need to finish quickly. Standing still lets a smaller enemy army dictate the tempo, and on timed levels that is a loss.
- The enemy is a wide, thin line. Their line cannot concentrate, so a wedge driven into one point splits it and the rest folds.
- You need to reach a positional objective. If the level wants a point held or a building taken, waiting in your deployment zone never gets there.
The cost of MARCH is that you surrender the ground advantage. You are walking into whatever the enemy prepared, and your formation narrows on the way.
A block that marches compresses into a smaller block and loses contact area for no benefit. A wedge that marches keeps its tip in contact and its shoulders protected.
When HOLD is the right call
Hold is the answer to three different situations:
- There is a choke point between you and the enemy. A bridge, a gate or a street mouth turns their numbers into a queue. Hold behind it and their army arrives a few units at a time.
- Your formation is wider than theirs. Holding preserves that width; marching compresses it and gives the advantage away.
- You are outranged. If the enemy has units that hit from further away, advancing into them is walking into fire. Make them come to you.
The cost of HOLD is passivity. You give the enemy the initiative and the choice of where to hit, and on levels with a timer, standing still is a clock running down.
The terrain rule
The fastest way to choose is to look at the map, not the enemy:
- Open ground with no obstacle → MARCH, because holding on open ground just lets a wider enemy wrap around you.
- A bridge, gate, river crossing or street → HOLD behind it, because the corridor is doing your force multiplication for you.
- A defensive objective → HOLD on it.
- A capture objective → MARCH to it.
Most levels telegraph the right answer in their first screenshot. If the map has one narrow entrance to your side, the designer expects you to hold it.
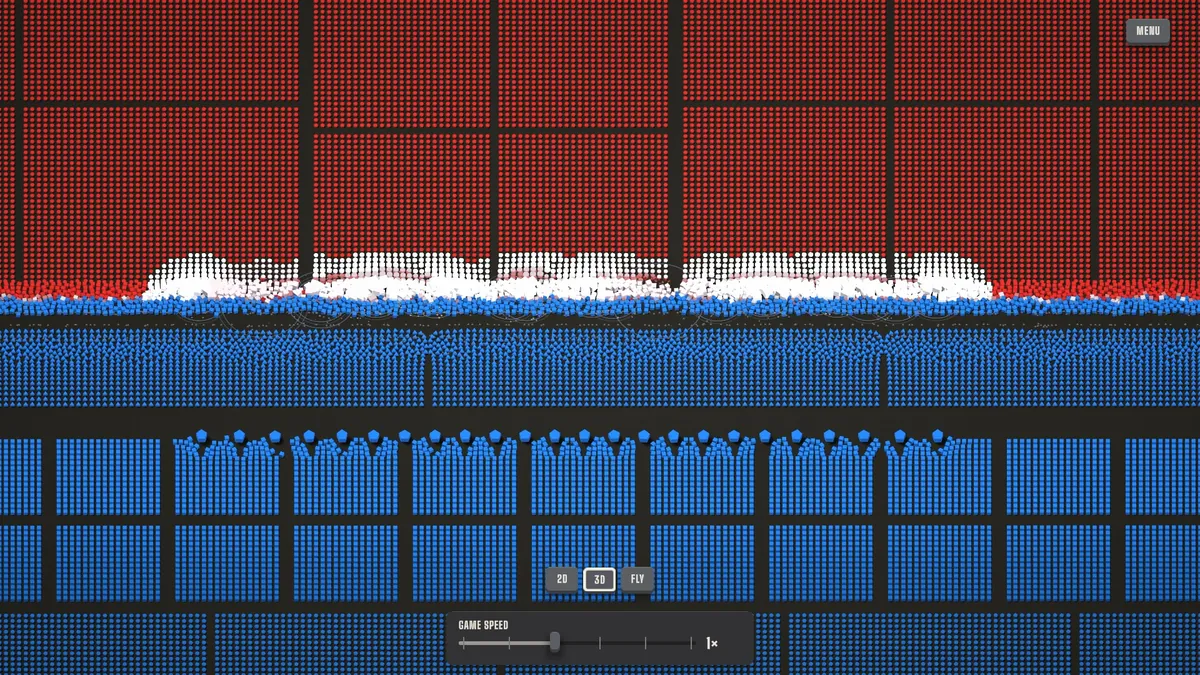
How the order changes your painting
The order is not a button you press after painting; it is a constraint on how you paint.
Painting for MARCH:
- Wedge or arrowhead, tip pointing at the enemy's weakest point.
- Front rank of squares or circles, triangles immediately behind the tip.
- Minimal filler at the back — you are moving forward, so rear units arrive late.
- Dark depth in the centre, thin flanks — the flanks are there to protect the wedge, not to fight.
Painting for HOLD:
- Wide arc, ends slightly forward (refused), centre slightly back.
- Squares on both ends, circles across the middle.
- Triangles behind the centre, where the enemy will bunch as they push in.
- Filler across the whole width, because a static line has to be continuous.
A useful test: look at your painted army and ask whether it looks like it is leaning forward or braced. If it looks braced and you plan to march, repaint.
The order and the enemy's order
You cannot see the enemy's standing order directly, but you can infer it from their formation:
- Enemy clustered and deep near their deployment line → they are likely to hold. March into them only with a wedge and a numbers advantage.
- Enemy spread wide across the map → they are likely to march. Holding lets them come to you in a line you can break at one point.
- Enemy behind a wall or building → they are holding. Do not march a wide line into a fortification; march a narrow wedge or do not march at all.
This inference is the closest thing the game has to a read. It is also why replaying a level is so effective: the second attempt always knows what the first did not.
Orders in the other modes
- Campaign: MARCH or HOLD, chosen before FIGHT, locked during the battle.
- Command: real-time orders and battlefield powers are added, so the standing order is a starting posture rather than the whole plan.
- Tactics: the puzzle is usually about which order to give to a fixed army — the Tactics guide→ covers the common setups.
- Muster: same two orders, but the army is drafted to a budget instead of grown.
- Sandbox: you can set up both sides, which makes it the best place to test an order against a formation you designed.
Official source: We March as One on Steam ↗ — the store description names MARCH and HOLD as the two pre-battle orders and describes placement as the core tactical decision.
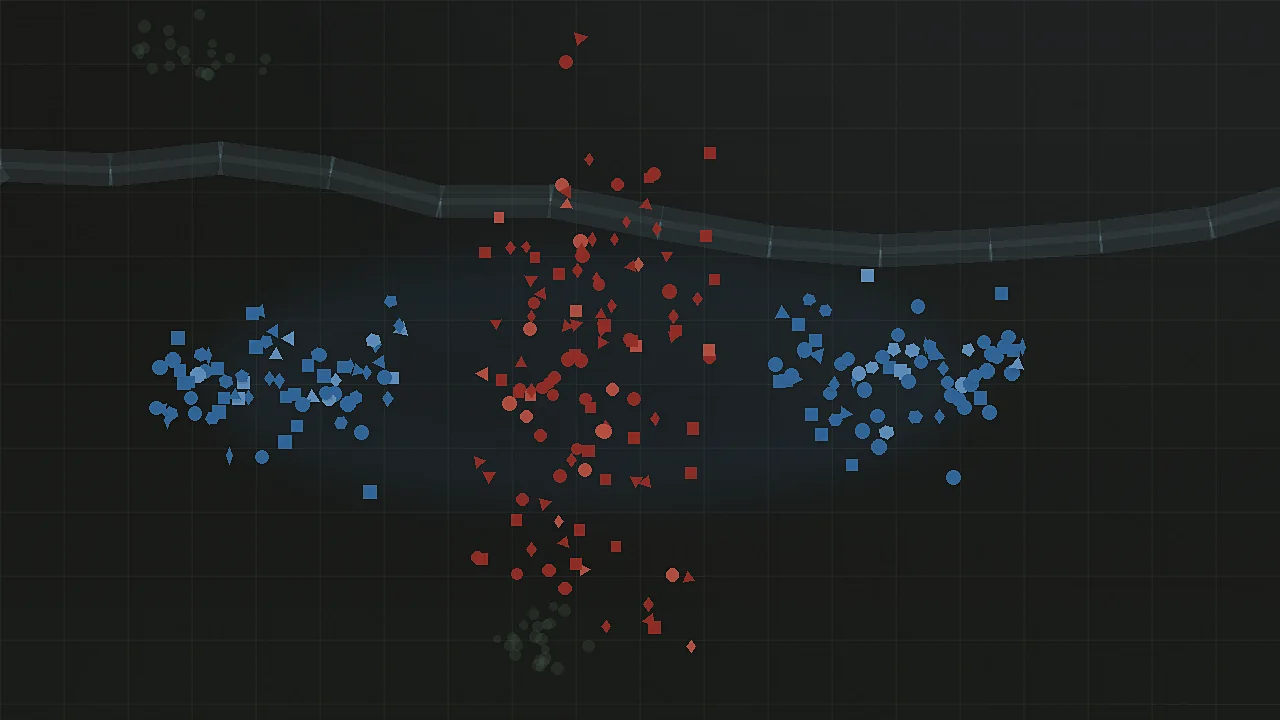
A decision routine
Before every battle, answer three questions in order:
- Is there a choke point on my side of the map? If yes, HOLD behind it.
- Is the level timed? If yes, MARCH, and paint for speed.
- Is my army wider than theirs? If yes, HOLD and let them hit the whole line. If no, MARCH a wedge into one point.
Two of the three answers will usually agree. When they conflict, terrain beats tempo: hold the choke point even on a timed level if the alternative is feeding units into open ground.
Sources
- We March as One on Steam (official store page) ↗
- Steam Community discussions for We March as One ↗
- Steam user reviews for We March as One ↗
FAQ
Can I change the order during a battle?
Not in Campaign. The order is locked when you press FIGHT. Command mode is the mode that adds in-battle actions.
Does HOLD mean my units never move?
HOLD keeps the army on its painted positions as a standing order. Individual units still engage enemies in contact — they just do not advance across the map.
Which order is better for beginners?
HOLD is more forgiving, because terrain and formation do the work and you can watch what happens. MARCH teaches faster, because you see immediately whether your wedge was strong enough.
Is MARCH always better when I have more units?
No. A larger army that marches into a choke point feeds its numbers in a trickle. Numbers only help if the front is wide enough to use them.
Do orders affect gold rewards?
Gold is paid for the battle outcome and ratings, not for the order chosen. Winning faster does not pay more, but winning at all does.