
How to Play We March as One
Step by step through We March as One: the Setup palette, brush sizes, MARCH and HOLD, the upgrade tree, and how a battle pays out.
We March as One has one screen and four buttons that matter, which is either elegant or confusing depending on whether anyone has told you what they do. This page is the missing manual: every step from opening a level to collecting the gold afterwards.
Step 1 — Read the level before you paint
Every level starts in Setup, with your half of the map empty and the enemy formation already placed. Before you touch the brush:
- Note the enemy's front width. Your line needs to be at least as wide, or you will be flanked.
- Note the terrain. Rivers, walls and buildings split formations. Painting across a river wastes units that end up isolated.
- Note the objective marker. Some levels reward holding a position; others want the whole enemy army destroyed.
The camera has three views — 2D top-down, 3D, and a fly-through. Use 2D to paint, because the brush lands where you click, and 3D to check depth and elevation before committing.
Step 2 — Understand the palette
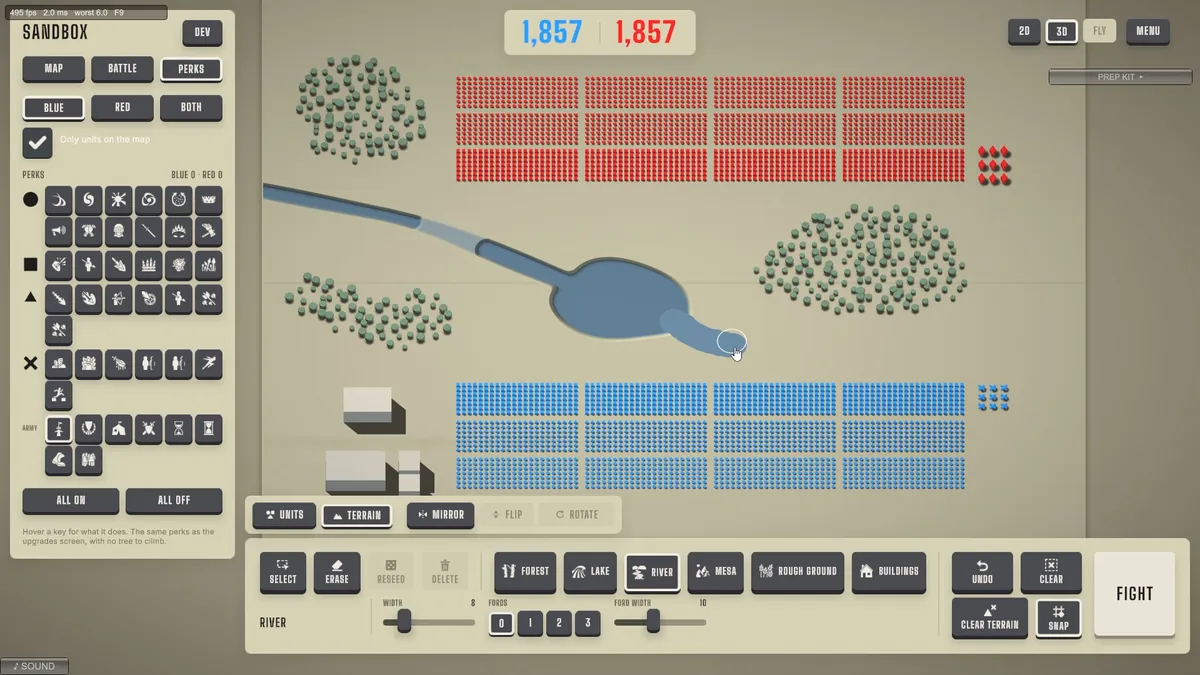
Along the bottom of the Setup screen is a row of shape slots. Each slot shows the shape and the number of units of that type you own. Selecting a slot and painting places those units.
Two rules govern the palette:
- You can only paint units you own. Buying more is done in the recruit panel between levels, not mid-setup.
- Every unit you paint is spent from the budget shown at the top. If the level has a cost cap — and later campaign levels do — the counter turns red when you exceed it.
The seven shapes are circles, squares, triangles, diamonds, pentagons, hexagons and rhombi. What each one is good at is a whole page of its own: all seven shapes and their roles→.
Step 3 — Paint with the right brush size
There are two brush sizes available in the early game, a seven-by-seven stamp and a larger eight-by-eight stamp. The difference sounds trivial and is not:
- Small brush for edges, corners, and filling a gap without spilling into the next lane.
- Large brush for the bulk of a block. Fewer strokes, faster setup, slightly less precise edges.
The brush preview outlines exactly which cells will receive units. Painting over cells that already contain units does nothing useful — those units are already paid for. Watch the counter instead of the map.
Start from the rear edge of your formation and work forward. If you run out of budget mid-paint, you want the missing units at the front, where you can still adjust, rather than a hole behind your line that the enemy walks into.
Step 4 — Pick an order: MARCH or HOLD
Once the army is painted, choose one of two standing orders:
MARCH — the army advances. Best when you outnumber the enemy, when you need to close before their ranged units thin you out, or when you are flanking a fixed position.
HOLD — the army stays put. Best when you are behind a choke point, when the enemy must come to you, or when your formation is wider than theirs and you want them to hit your whole line.
There is no third option and no mid-battle order change in Campaign. You are committing to a plan, and the plan has to survive contact. The MARCH vs HOLD decision guide→ goes level-type by level-type.
Step 5 — Upgrade before you fight
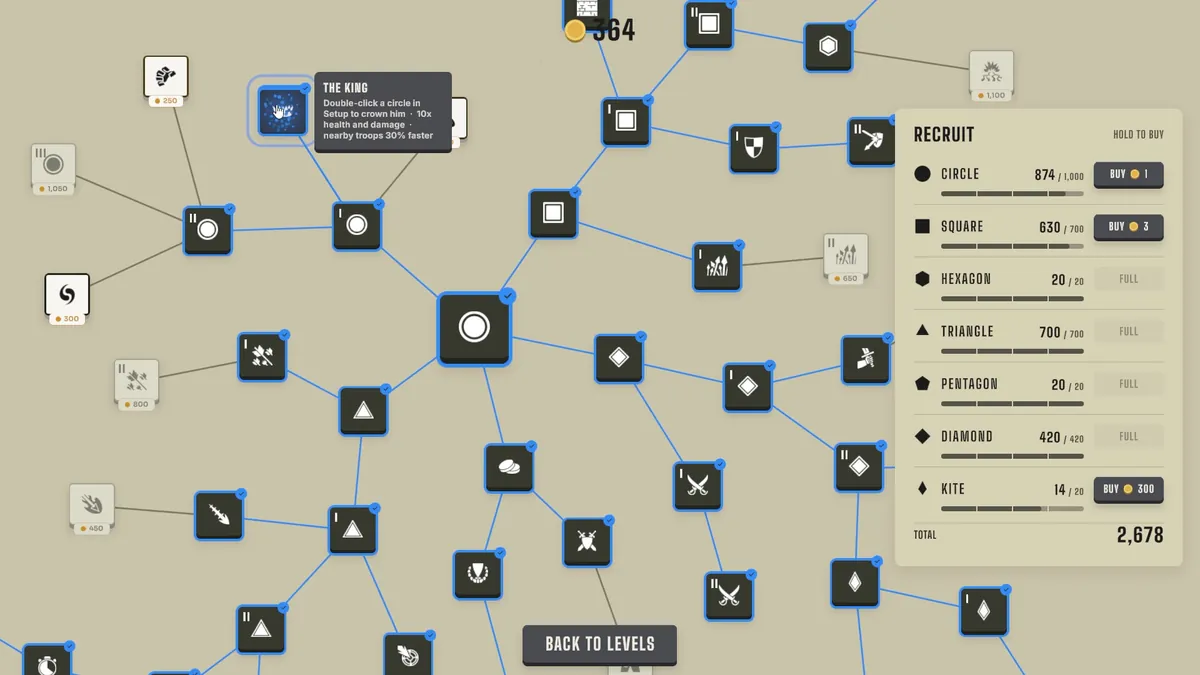
The UPGRADES button opens a node tree with three tiers. Nodes cost gold, and costs scale from 250 at the cheapest tier up to around 1,050 for the deepest nodes. The tree is permanent for the campaign.
Two things beginners get wrong here:
- Upgrades are not refundable. Once bought, a node stays bought, including nodes that turn out to be irrelevant to your playstyle.
- Upgrades are not mandatory. Several experienced players deliberately skip parts of the tree because an over-upgraded army trivialises the early campaign.
The upgrade tree buy order→ covers which nodes pay for themselves first.
Step 6 — Press FIGHT and watch the simulation
FIGHT starts the battle. What follows is not turn-based: every soldier and every projectile is simulated individually. That has three practical consequences:
- Position is everything. Units target the nearest enemy, so the shape of your formation decides the entire engagement.
- Numbers matter less than contact area. A narrow, deep army fights a few units at a time; a wide army fights along its whole front.
- Battles snowball. Once one side's line breaks, the winner wraps around and the fight ends quickly.
Do not stare at the middle of the fight. Watch the two ends of the contact line: that is where a flank is either forming or collapsing.
Step 7 — Collect gold, win or lose
After the battle you get gold. Winning pays more, and ratings pay bonuses, but a loss is not zero. This is the design decision that makes the game forgiving: a failed level still moves your army forward.
Between battles you can:
- Recruit new units from the recruit panel.
- Buy upgrades in the tree.
- Replay earlier levels for better ratings, which means more gold and a stronger army for the next new level.
If a new level feels impossible, the answer is usually not a better plan but a stronger army — and the fastest way to afford one is to replay the last two levels for DECISIVE or HEROIC. Ratings are the game's built-in difficulty valve.
Controls and screens at a glance
| Element | What it does |
|---|---|
| Shape palette | Selects which unit type you paint |
| Brush size | Switches between the small and large stamp |
| UNDO | Removes the last stroke |
| CLEAR | Wipes the whole painted formation |
| UPGRADES | Opens the permanent node tree |
| LEVELS | Returns to level select |
| FIGHT | Starts the battle with the current formation and order |
| MARCH / HOLD | Standing order selected before FIGHT |
| 2D / 3D / FLY | Camera modes |
Official source: Steam store page ↗ — the official description confirms painting troops directly onto the battlefield, MARCH and HOLD orders, per-unit simulation and the branching upgrade tree.
What changes in the other modes
Campaign is the mode that teaches you the controls, but the same interface is reused with different constraints:
- Tactics removes recruiting. You get a fixed army and must solve the board with placement alone.
- Command adds real-time orders and battlefield powers during the fight.
- Muster gives you a fixed budget and a draft instead of a persistent army.
- Sandbox hands you the editor and lets you build the level yourself.
If you understand Setup, painting and orders, you understand all five. The game overview→ explains what each mode is for.
A five-minute drill that fixes most beginner losses
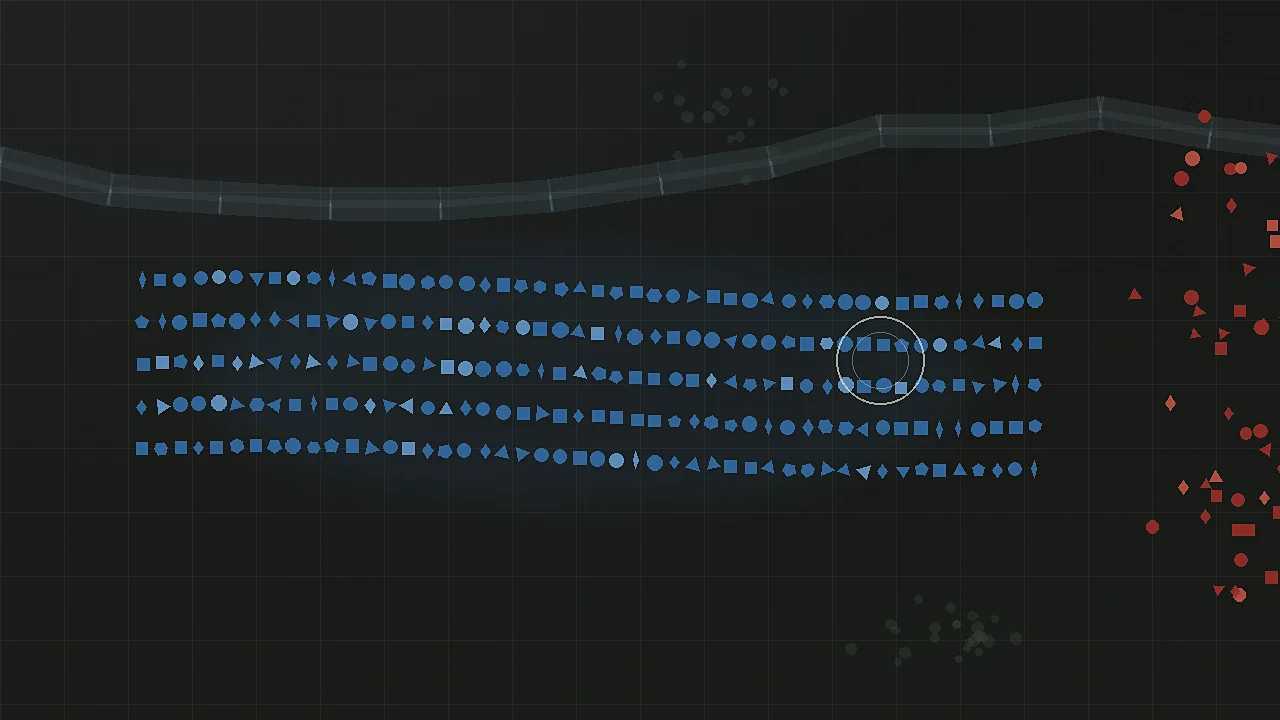
Load the first level you already beat. Paint three different formations with the same unit budget: a thin line, a deep block, and a wedge. Run each. Watch which one breaks the enemy line first.
This drill teaches the single most transferable skill in the game: reading how a formation will meet another formation before pressing FIGHT. Players who can do that stop losing to levels they outnumber.
Sources
- We March as One on Steam (official store page) ↗
- Steam Community discussions for We March as One ↗
- We March as One news hub on Steam ↗
FAQ
Can I change my army after pressing FIGHT?
No. The formation and the order are locked in when the battle starts. In Command mode you get additional in-battle actions, but the painted formation still stands.
Is there a pause button during battle?
The battle runs continuously once it starts. You can watch from different camera angles, but you cannot pause or issue orders in Campaign.
Do I lose units permanently when they die?
No. Units are part of your roster, not a consumable. Deaths in a battle do not remove them from your army for the next level.
What happens if I fail a level?
You keep the gold you earned and return to the map. You can retry immediately or replay an earlier level to grow the army first.
Is there a tutorial I can replay?
The first few levels function as the tutorial. You can replay them at any time from level select, which is also the easiest way to practise formations without risking a new level.