
We March as One Beginner Guide
First-hour route for We March as One: which shapes to buy, how to paint a formation, when to march, and the mistakes that lose the early levels.
The first hour of We March as One is deliberately quiet. You get a few shapes, a brush, and a level that looks like it was drawn by a child. Then, somewhere around level five, the game starts asking questions the tutorial never answered: which shape goes in front, how wide should the line be, and why did your army walk into a wall and die.
This guide is the shortest path from "I pressed FIGHT and lost" to "I understand why I lost and can fix it". It assumes no prior knowledge and no upgrades.
The first three levels: what to actually do
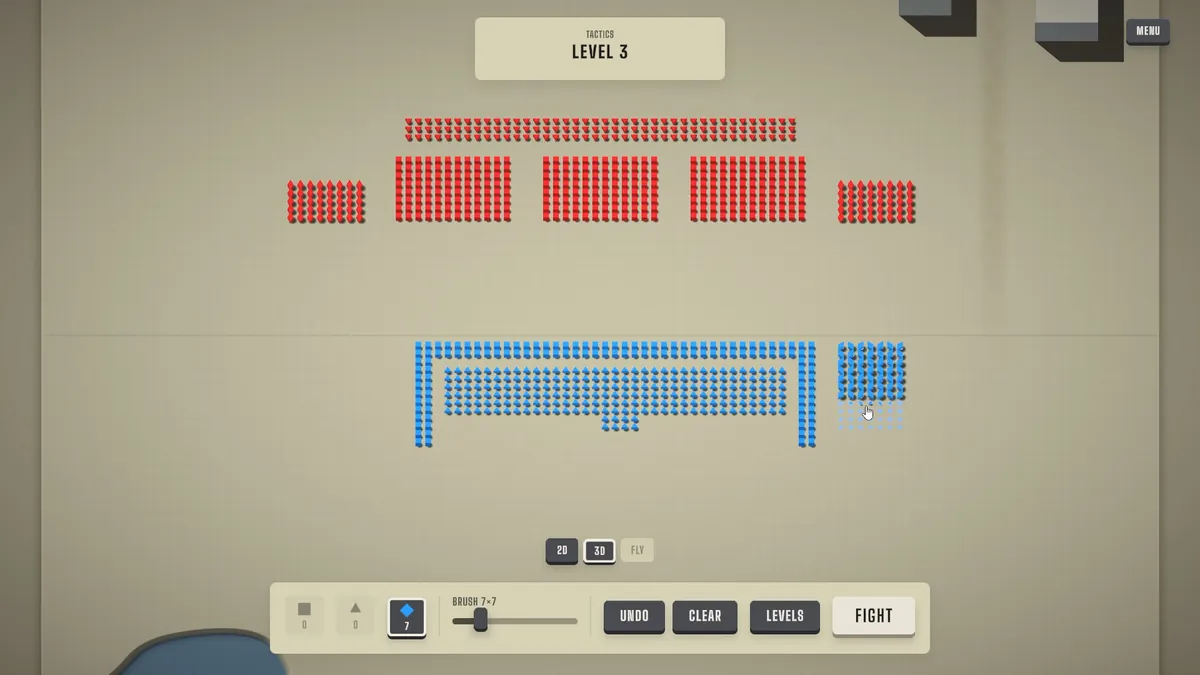
Levels one and two are shape-versus-shape. You have circles, the enemy has circles, and the winner is whoever painted more of them in a tighter block. There is nothing clever to do yet, and that is fine — use these levels to learn the brush.
- Open Setup and look at the palette along the bottom. Each slot is a shape, and the number under it is how many of that shape you own.
- Select the brush size. The small brush paints a tight seven-by-seven stamp; the larger brush covers more ground per stroke.
- Paint a block, not a line. A block of circles four or five ranks deep beats a single line of the same cost, because the back ranks step into the gap when the front rank dies.
- Press FIGHT and watch. Not the health bars — there are none — but the shape of the contact line.
Level three introduces the second unit type, which is where most players get their first achievement without noticing (Fresh Recruits is unlocked by more than 99% of players).
The Setup screen has an UNDO button. Nothing you paint during Setup is committed until you press FIGHT, so experiment: paint a wide line, undo it, paint a deep block, compare. The cost of a bad formation is ten seconds, not a lost run.
Spend your first gold on bodies, not upgrades
Gold comes from every battle, win or lose. The instinct is to open the upgrade tree immediately because it looks like the "real" progression system. Resist it for the first few levels.
Early on, one extra circle in the line is worth more than a small percentage bonus, because you are fighting small armies where raw count decides the outcome. A reasonable rule for the first ten levels:
- Buy units first until your army fills roughly the width of the enemy's front line.
- Buy one cheap upgrade only when a specific level keeps beating you for the same reason.
- Bank nothing. Gold does not earn interest, and a bigger army compounds into easier wins, which means more gold.
The economy guide has the longer version of this argument, including when banking actually makes sense before a known-hard level: gold economy and spending order→.
Paint a formation, not a blob
The single biggest beginner mistake is painting a round blob in the middle of the map. Blobs have a narrow contact front, which means only a few units fight at once while the rest of the army queues behind them.
Better shapes to practise:
- Deep block. Four to six ranks, wider than it is tall. Good default for circle-heavy armies.
- Wedge. A triangle pointing at the enemy. Concentrates damage on one point and punches through thin lines.
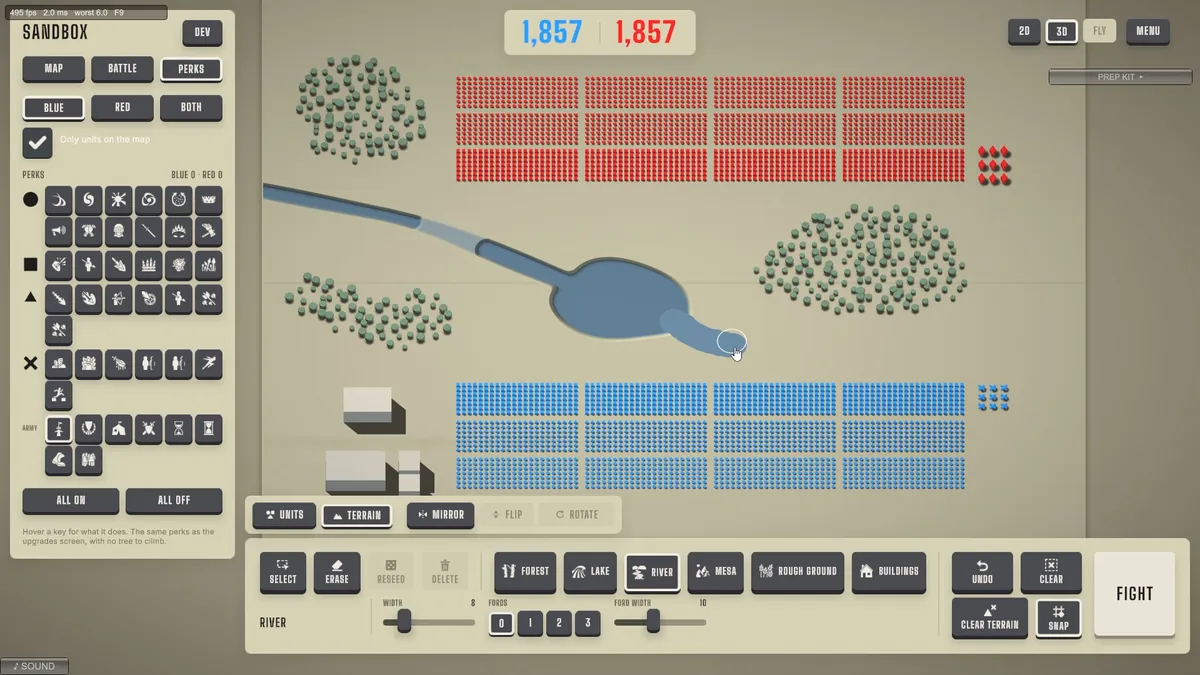
- Split line. Two groups with a gap in the middle. Useful when the map has a river or a building that would otherwise split your army for you.
Troops automatically target the nearest enemy. If your army is a thin line, the enemy's front rank engages yours along its whole width and both sides trade evenly. If your army is a wedge, the tip engages first and the rest of the wedge flows into the hole it makes. Same units, different result.
MARCH or HOLD: pick one on purpose
Before the fight you choose an order. The two options behave very differently:
- MARCH pushes your army forward. Use it when you want to close the distance, flank, or hit a weaker side of the enemy formation.
- HOLD keeps your army in place. Use it when the enemy is coming to you, when you are behind a choke point, or when your formation is built to receive a charge.
Beginning players often leave MARCH selected because it looks aggressive. On defence-heavy levels that is a mistake: you abandon your terrain and meet the enemy in the open. The MARCH vs HOLD guide→ explains the decision per map type.
Crown a circle early
The King is the one unit in the game with a visible gimmick: double-click a circle in Setup to crown it. A crowned circle gets ten times the health and damage of a normal circle, and nearby troops move 30% faster.
For a beginner, the King is a free anchor. Put him in the middle of your deepest block, not at the front. He survives long enough to keep the aura running, and the aura is what makes the surrounding circles worth their cost.
Ten times a circle's health is still circle health. If you push the King into a wall of enemy units with no support, he dies and you lose the aura, the damage, and a chunk of your army's coherence. Crown, then protect.
The five beginner mistakes, in order of frequency
- Painting a single-rank line. It looks tidy and dies instantly. Always at least three ranks deep.
- Buying upgrades before units. Early percentage bonuses are smaller than one extra rank of bodies.
- Leaving MARCH on for defensive levels. You give up the map for no reason.
- Ignoring the brush preview. The stamp shows exactly where units will land; painting over your own units wastes budget.
- Restarting instead of losing. A loss pays gold. If a level is clearly lost, let it finish, take the gold, and come back stronger.
Official source: Steam store page ↗ — unit categories, MARCH/HOLD orders and the King's 10x health and damage aura are described in the official feature list and in-game tooltips.
What to do after your first win streak
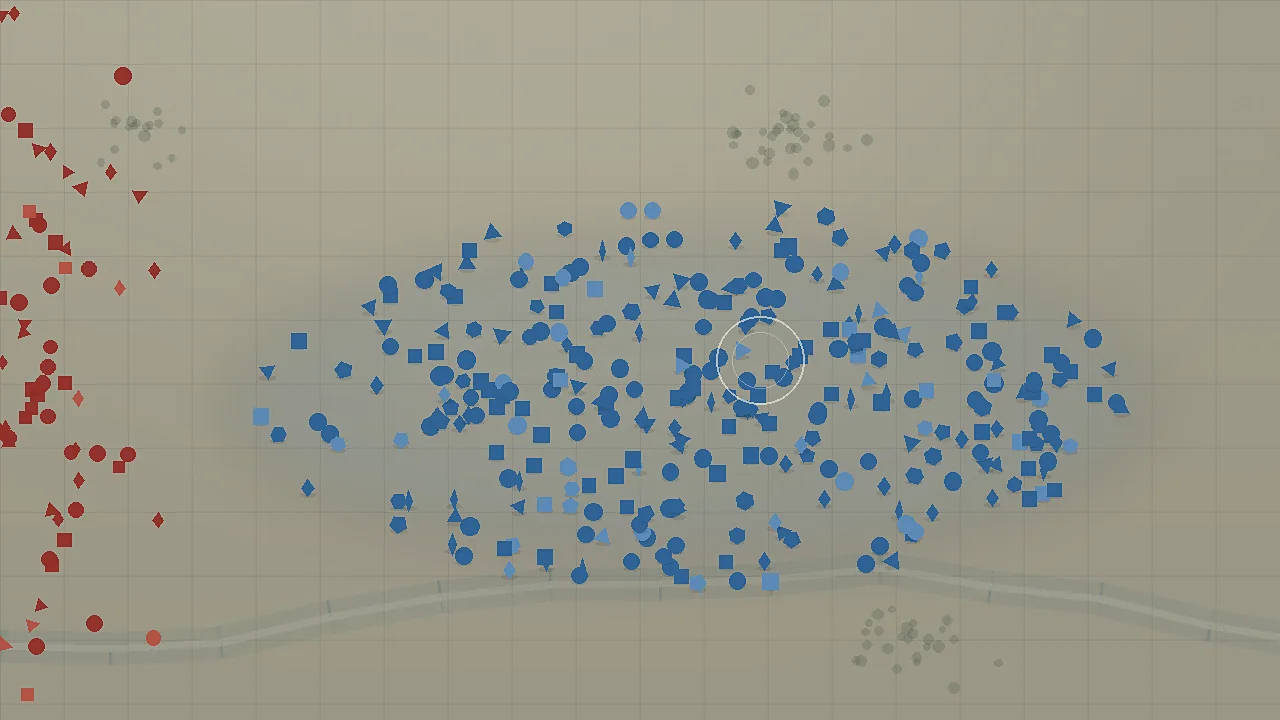
Once levels start feeling easy, the temptation is to keep buying circles and steamroll. That works until roughly the city levels, where enemy formations become dense enough that a circle-only army cannot break through before the wave arrives.
The fix is composition, not volume. Add one unit type that solves the problem in front of you:
- Enemy line too thick to punch through? Add triangles to concentrate damage.
- Enemy flanking wide around you? Add squares to hold the edges.
- Level has a narrow bridge? Add rhombi to fill the corridor cheaply.
The army composition guide→ covers ratios; the unit roles guide→ covers what each shape is actually for.
Sources
- We March as One on Steam (official store page) ↗
- Steam Community discussions for We March as One ↗
- Steam user reviews for We March as One ↗
FAQ
How many units should I bring to the first levels?
Enough to fill the enemy's front line plus two or three ranks of depth. If the enemy line is ten units wide, a block twelve wide and four deep will usually win the early levels outright.
Should I lose on purpose to farm gold?
No. Loss gold is a consolation prize, not a strategy. Winning pays more, unlocks ratings and keeps your army intact, so farming losses is strictly slower than replaying a level you can win.
Do upgrades carry between levels?
Yes. Upgrades and units are permanent for the campaign, which is why buying the wrong thing early is annoying but rarely run-ending.
When should I start using the King?
As soon as you have a spare circle and a level where your centre keeps collapsing. Crowning costs nothing extra beyond the circle itself, and the aura is useful from the first level you can afford a deep block.
Why did my army lose with more units than the enemy?
Almost always formation. A blob or a thin line feeds units into the fight a few at a time. Check the contact width first, then the unit mix.